29-01-2021
Our manufacturing process explained: wet paint coating
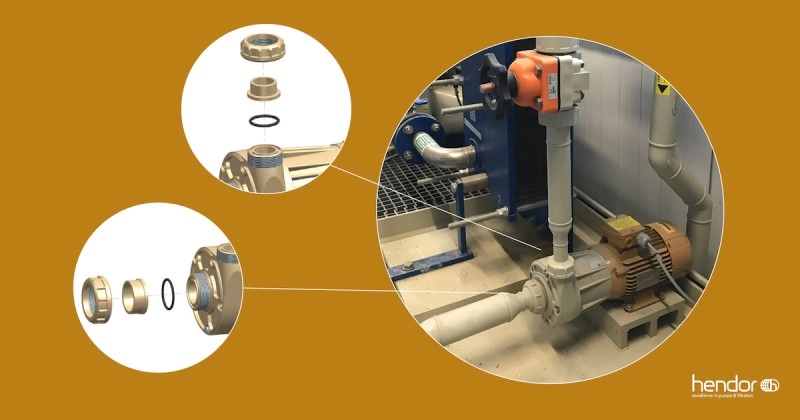
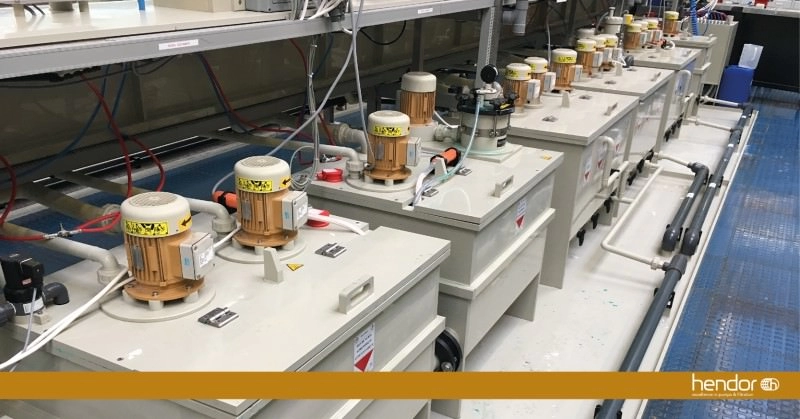
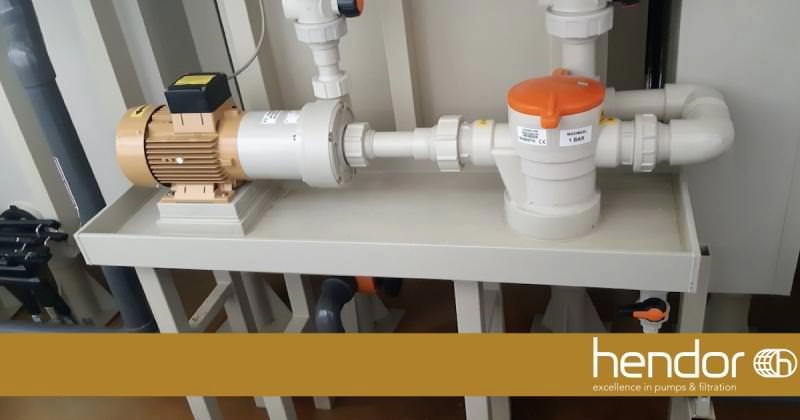
We believe that designing and manufacturing our products goes hand in hand with a great deal of expertise and craftsmanship. In this series of five blogs, our goal is to elaborate on our manufacturing process. How do our pumps & filters go from PP to an end product? Step 4: wet paint coating the electric motor.
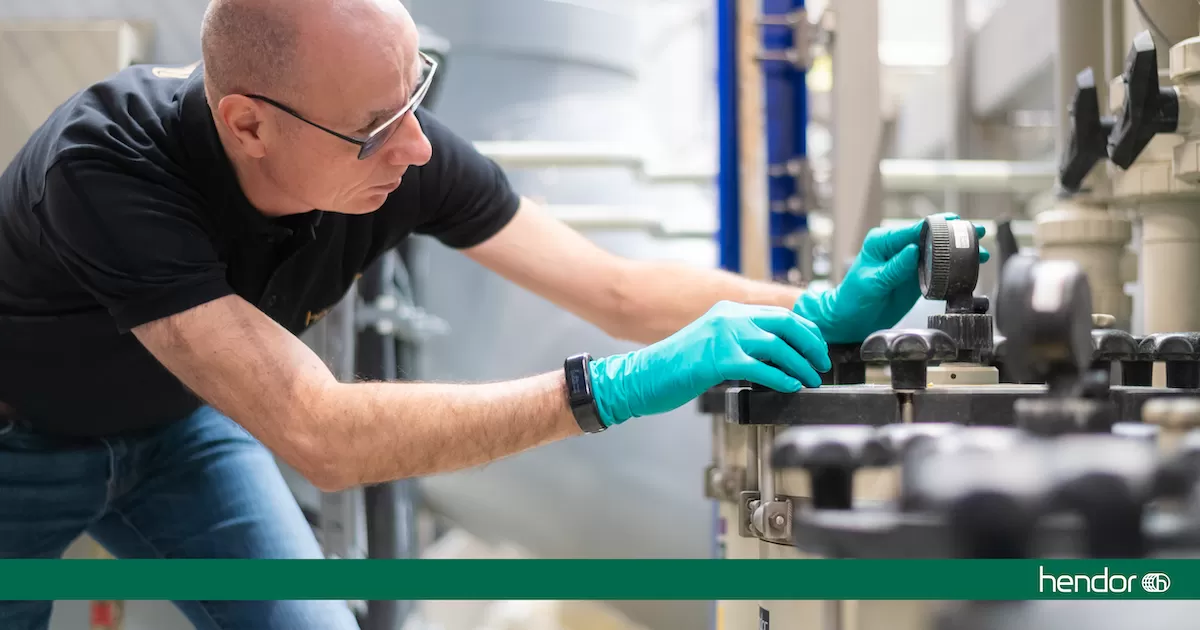
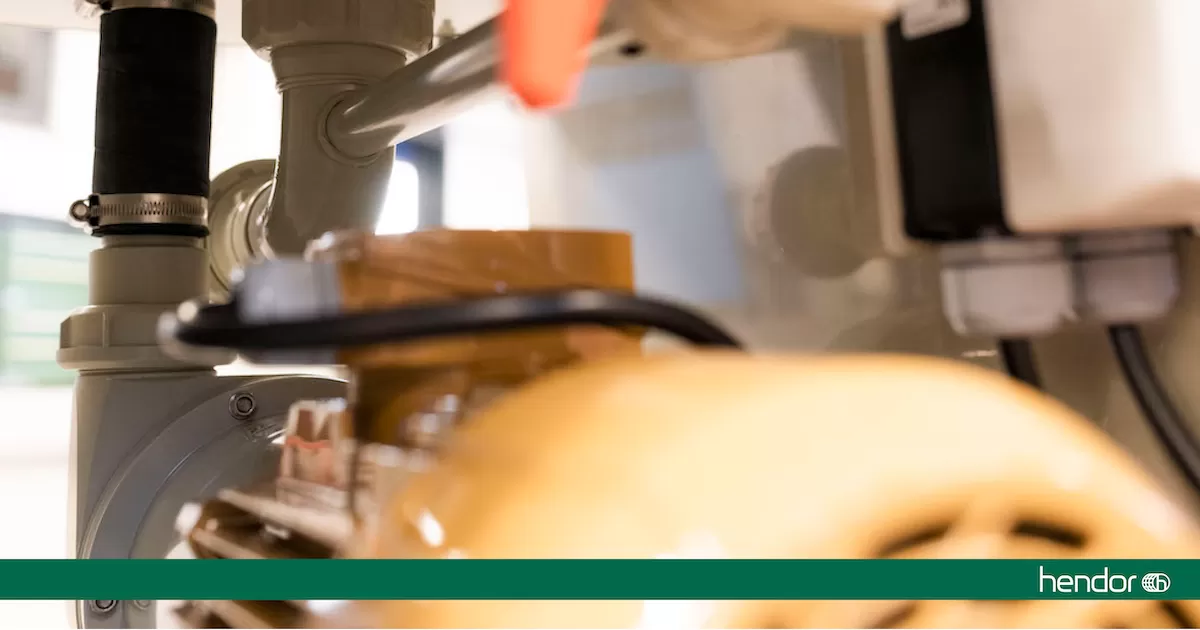
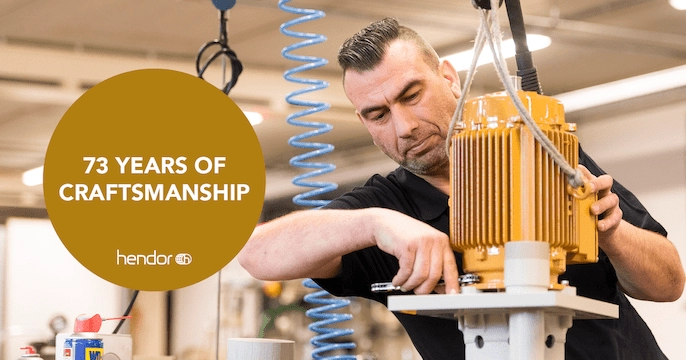
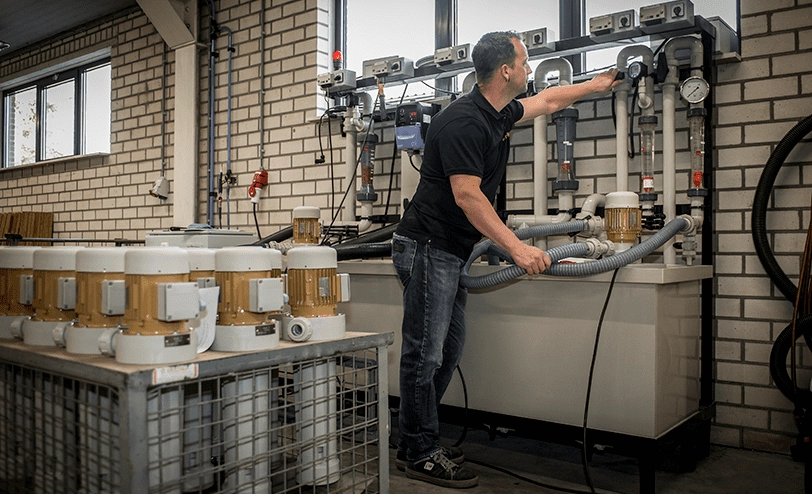
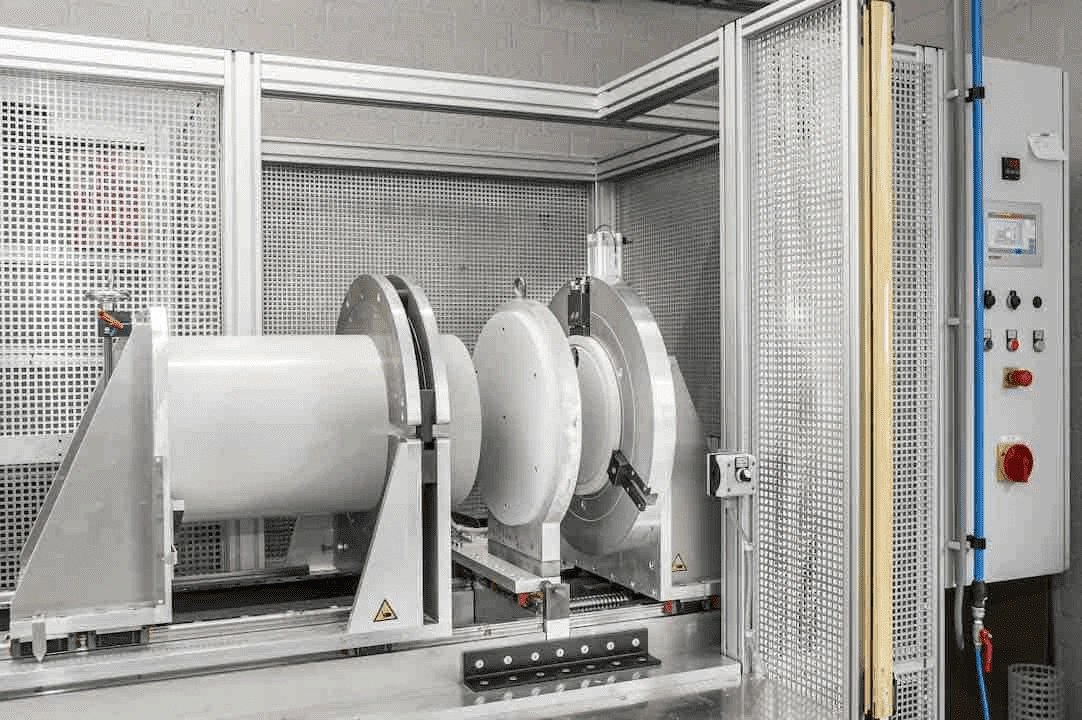
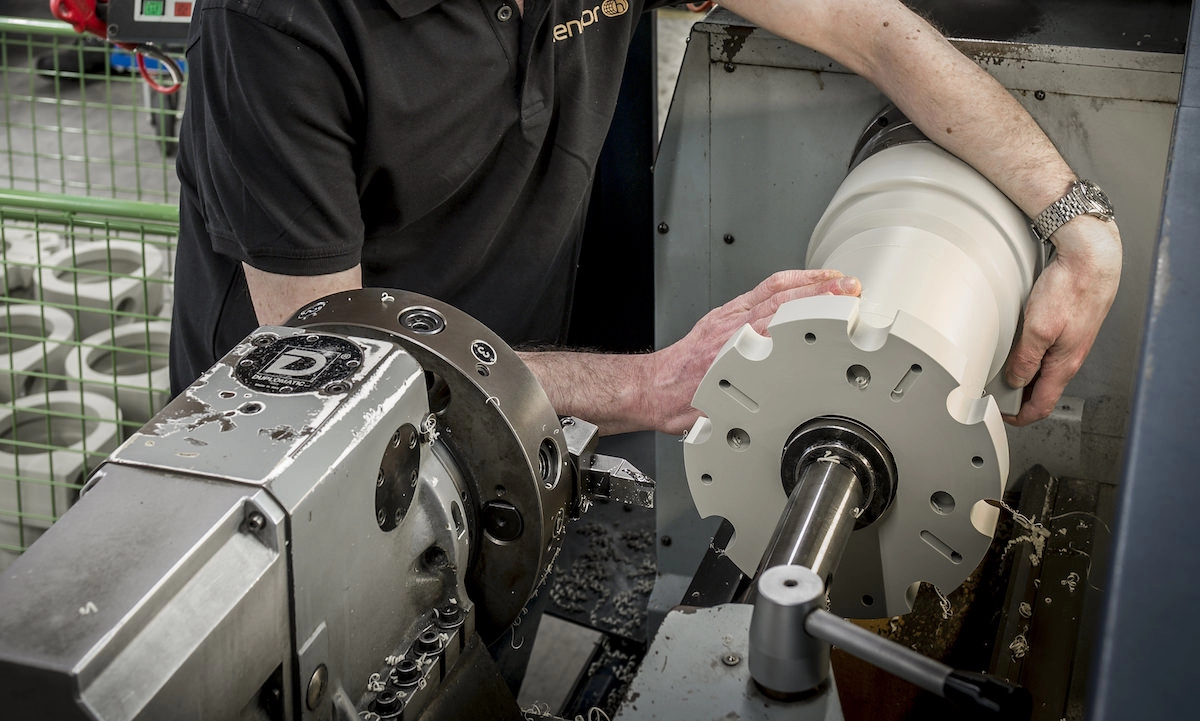
Wet paint coating the electric motor requires the most process time out of all the different manufacturing phases. In order to be ready for coating, the electric motors need to be completely checked by our experts. Are the measurements correct? Does the shaft deflection exceed our strict tolerance guidelines of 0,02 millimeters? Are the right premium branded bearings installed? In case of deviation, our own in-house specialists alter almost everything. After approval, the electromotor is ready for the coating process.
Wet paint coating the electric motor requires the most process time out of all the different manufacturing phases. In order to be ready for coating, the electric motors need to be completely checked by our experts. Are the measurements correct? Does the shaft deflection exceed our strict tolerance guidelines of 0,02 millimeters? Are the right premium branded bearings installed? In case of deviation, our own in-house specialists alter almost everything. After approval, the electromotor is ready for the coating process.
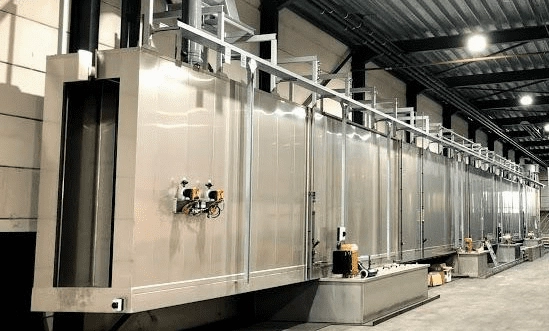
The actual wet paint coating process
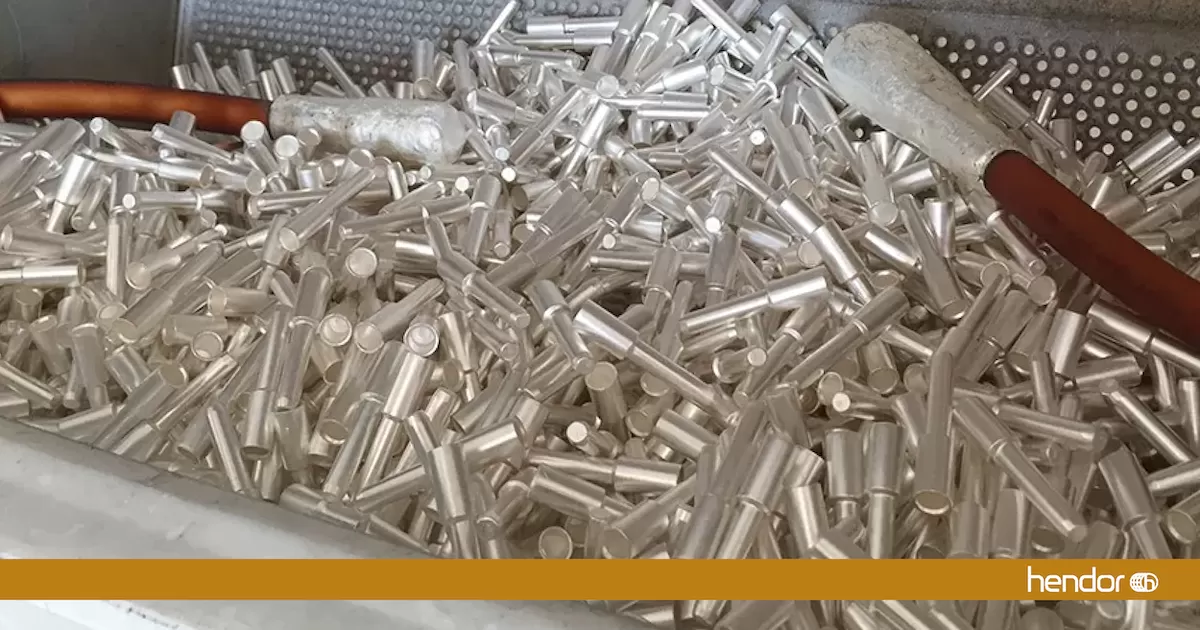
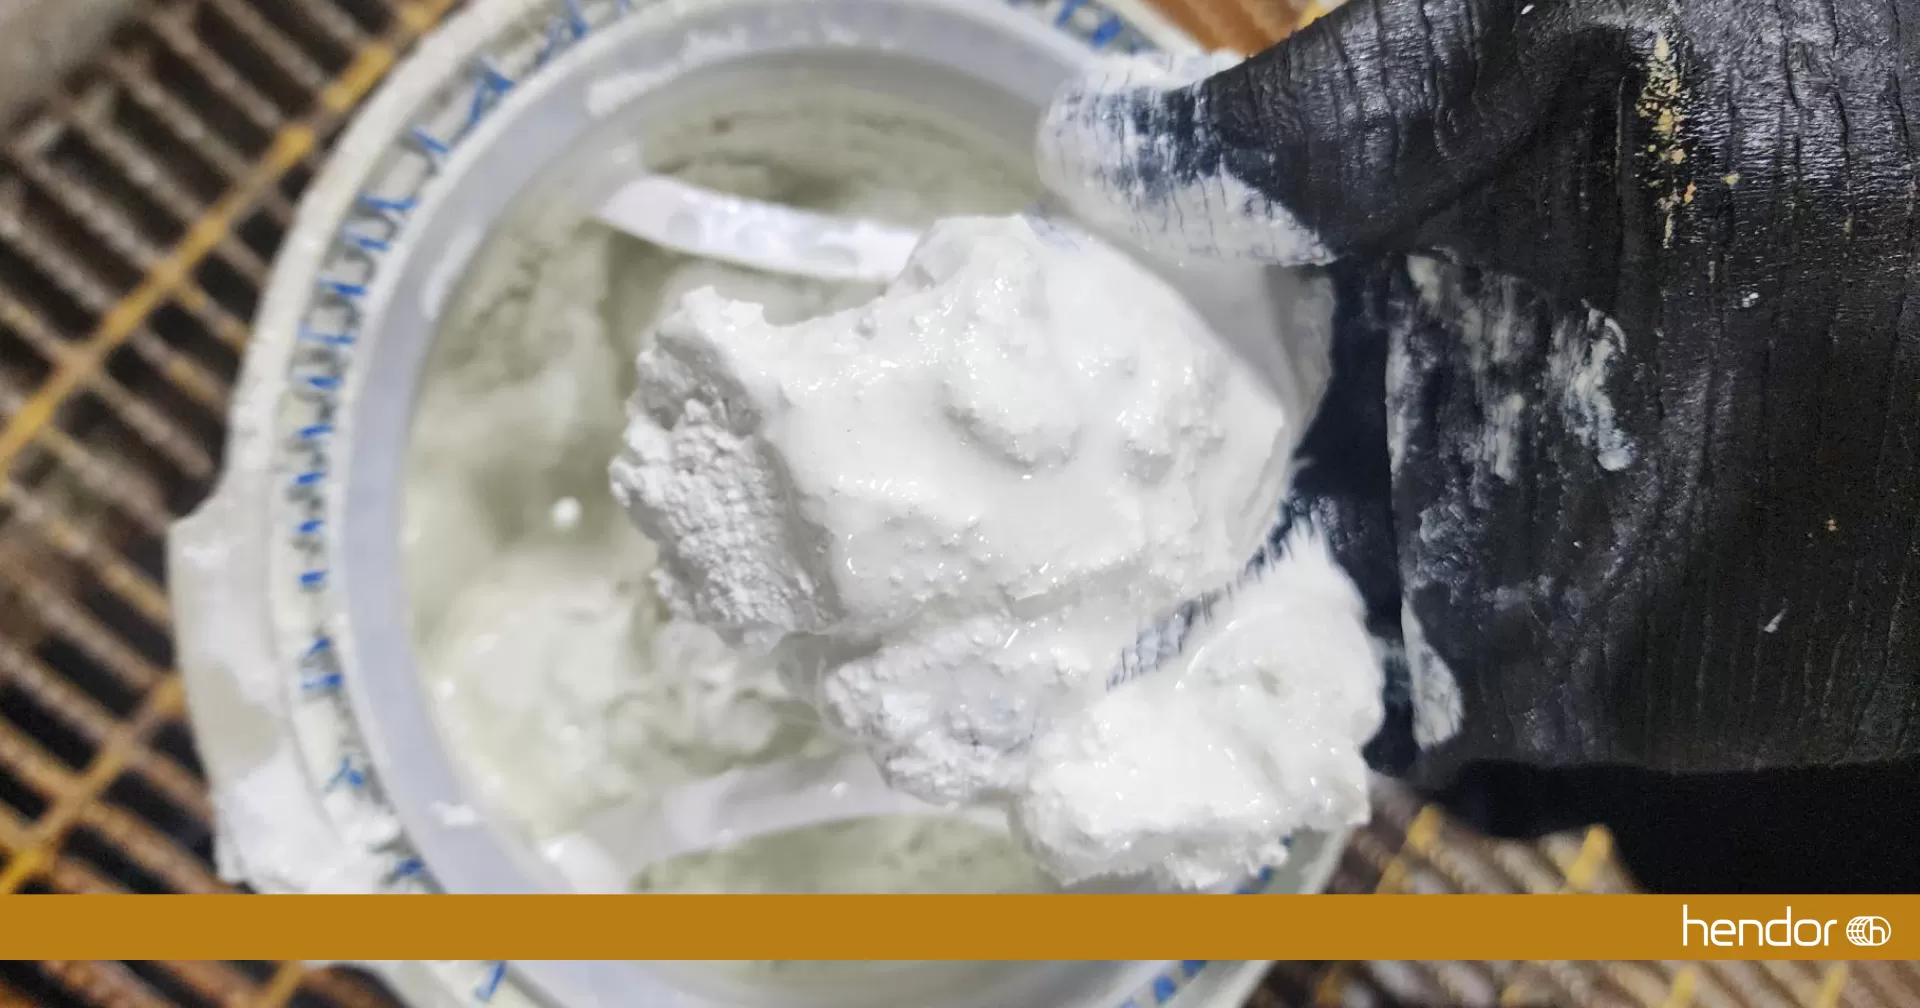
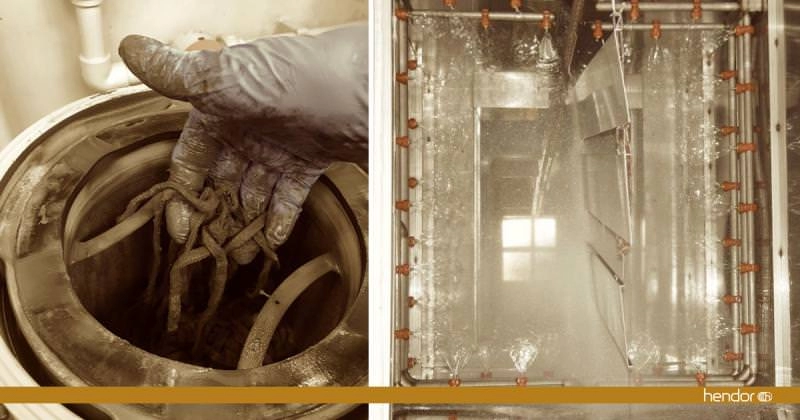
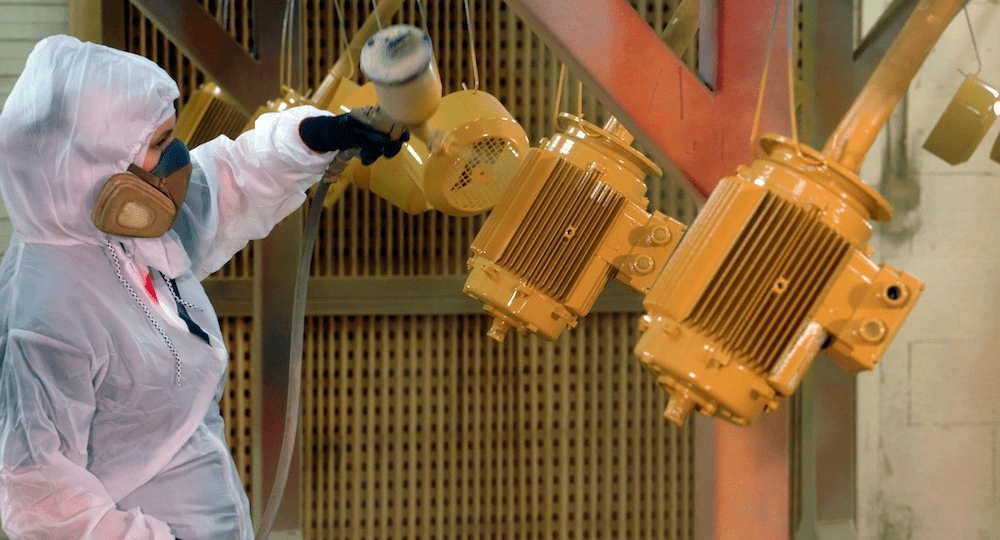
During the development stage of our electric motors, we make sure that we design no harsh corners on the motor, so we can achieve an opaque coating layer with wet paint coating. What the actual coating process looks like? First, we degrease and sand the surface. Thereafter, we manually clean and degrease the motor surface with lint-free wiping paper. Now, the surface is rough and clean for coating.
Normally, the first coating layer would be primer. Most primers contain chromium trioxide. Since we strive for maximum safety and sustainability, we decided to use a chromate-free primer. Yet, the newest environmental friendly primer promotes a lesser adhesion. Therefore, we implemented a novel precoating to reach the best in class premium coating system with unseen adhesion power, and corrosion protection. We apply this precoating first, and let it react with the air during the twenty minute resting time, creating an effective conversion layer.
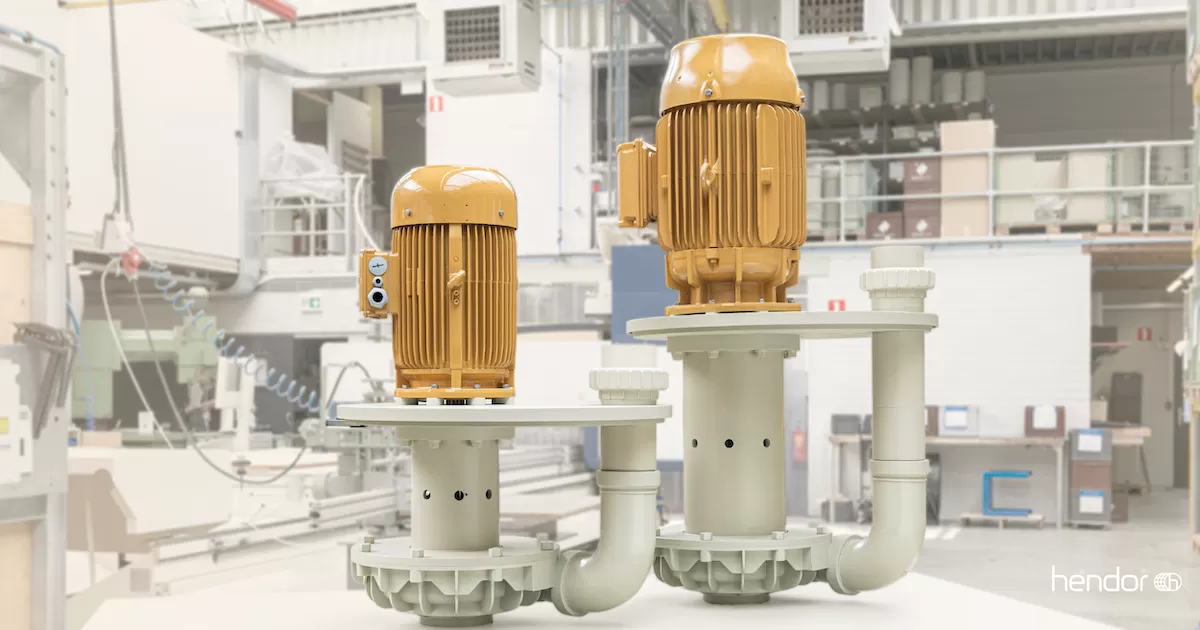
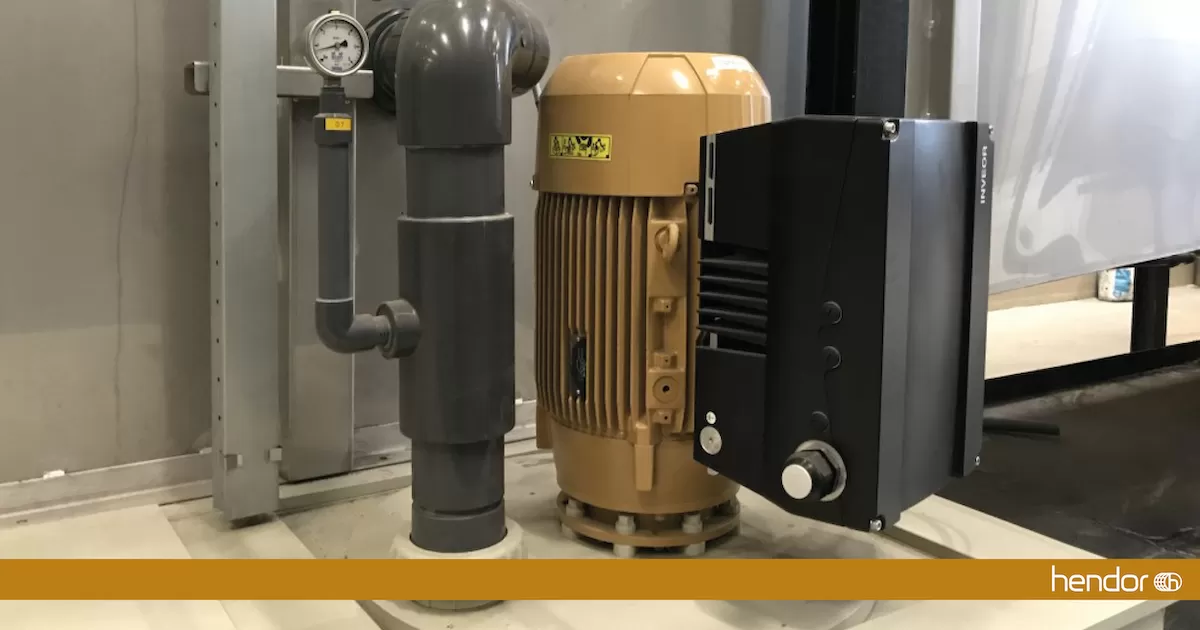
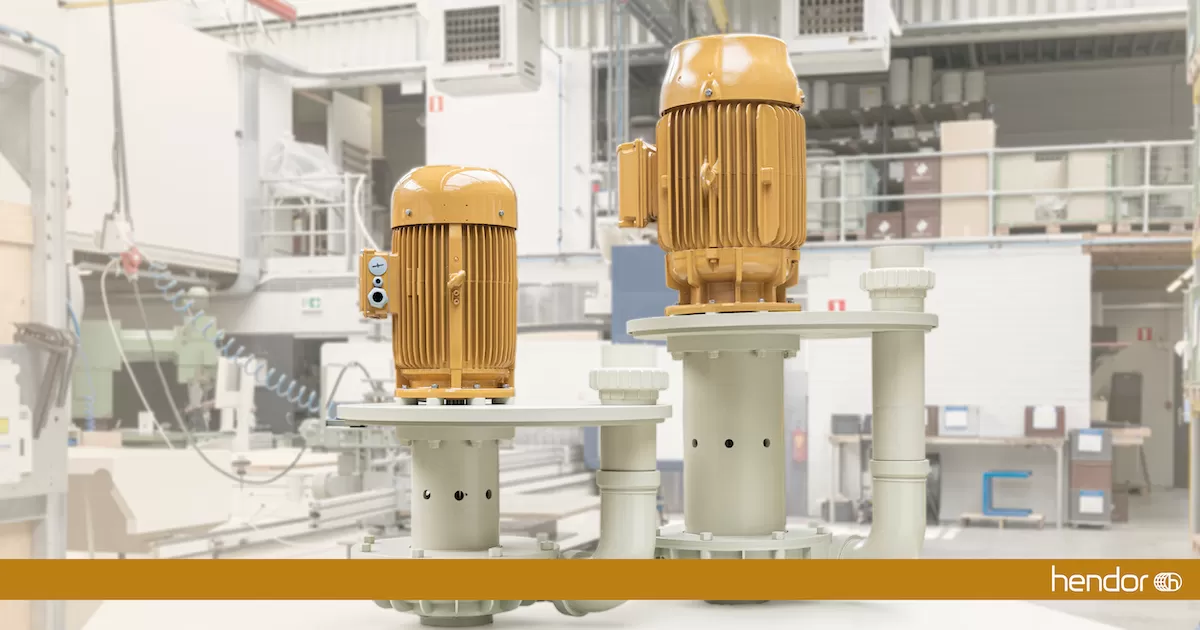
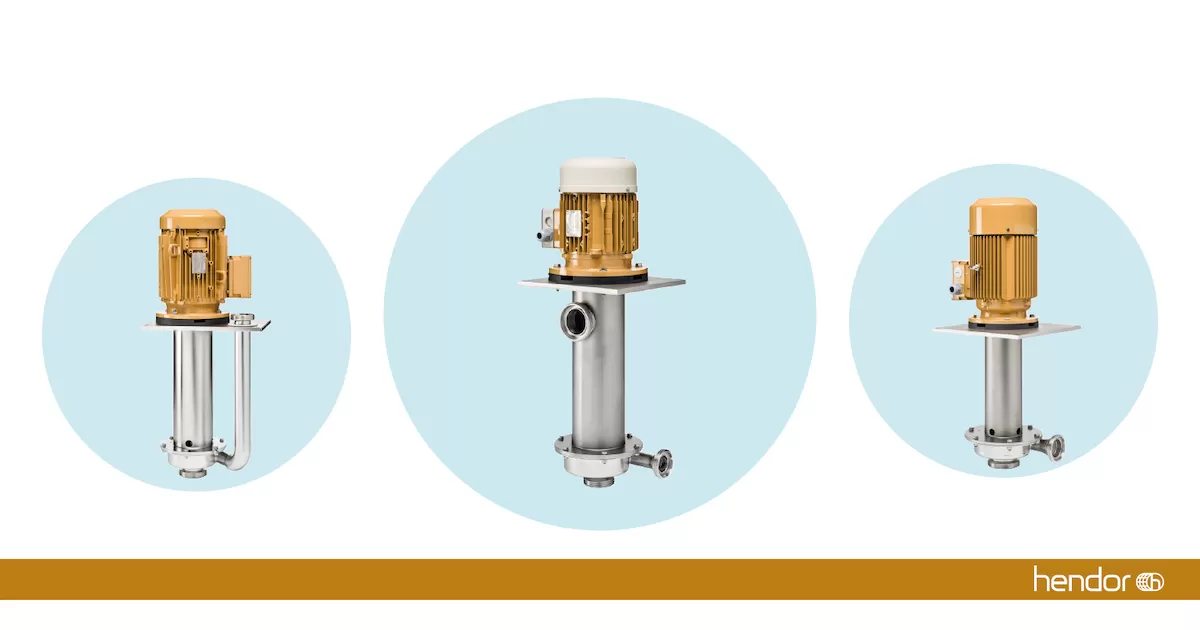
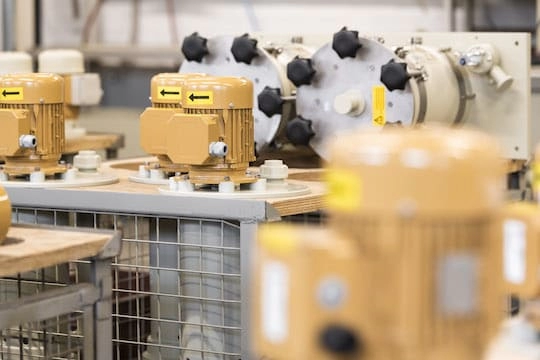
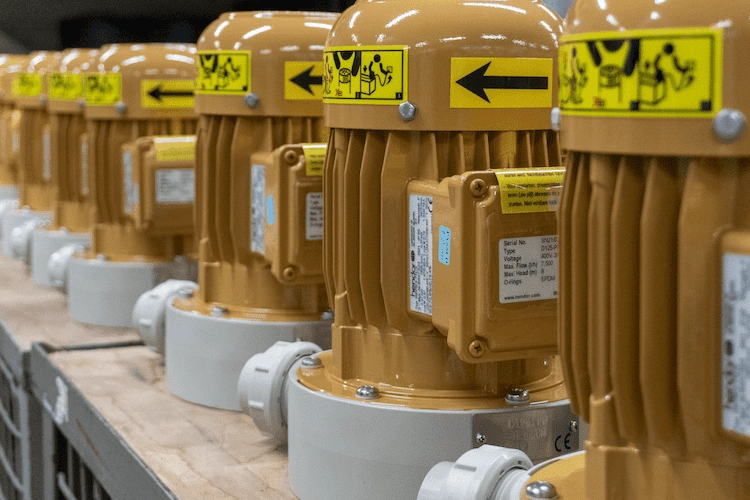
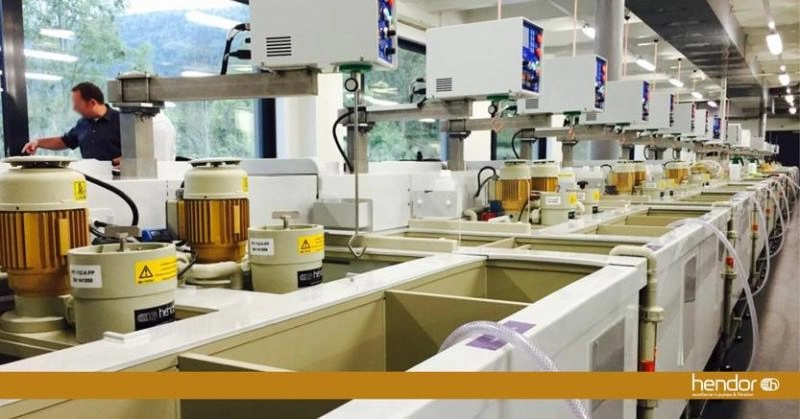
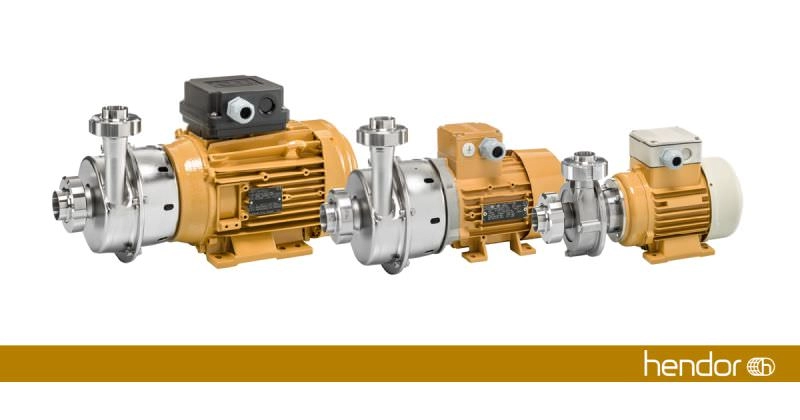
Next, we apply the chromate-free primer in two coatings, and wait again twenty minutes after each application. The primer is a two component based epoxy with a total thickness of 20 micron. The following layer is the base coat, which is a two component polyurethane. Lastly, we apply the topcoat layer. The high gloss, two component polyurethane topcoat provides maximum hardness to protect the motor against damages and corrosion. The total typical coating thickness achieved, is 120 μm. By this time, the motor has received its well-known brand specific Hendor color; RAL1011. This whole coating procedure takes approximately two days, subsequently the motor is left to rest for a week to achieve maximum coating hardness.
In the next blog, we elaborate on the fifth step to manufacture a Hendor end-product. Make sure to follow us on LinkedIn, where we will announce the publication.
Normally, the first coating layer would be primer. Most primers contain chromium trioxide. Since we strive for maximum safety and sustainability, we decided to use a chromate-free primer. Yet, the newest environmental friendly primer promotes a lesser adhesion. Therefore, we implemented a novel precoating to reach the best in class premium coating system with unseen adhesion power, and corrosion protection. We apply this precoating first, and let it react with the air during the twenty minute resting time, creating an effective conversion layer.
Next, we apply the chromate-free primer in two coatings, and wait again twenty minutes after each application. The primer is a two component based epoxy with a total thickness of 20 micron. The following layer is the base coat, which is a two component polyurethane. Lastly, we apply the topcoat layer. The high gloss, two component polyurethane topcoat provides maximum hardness to protect the motor against damages and corrosion. The total typical coating thickness achieved, is 120 μm. By this time, the motor has received its well-known brand specific Hendor color; RAL1011. This whole coating procedure takes approximately two days, subsequently the motor is left to rest for a week to achieve maximum coating hardness.
In the next blog, we elaborate on the fifth step to manufacture a Hendor end-product. Make sure to follow us on LinkedIn, where we will announce the publication.